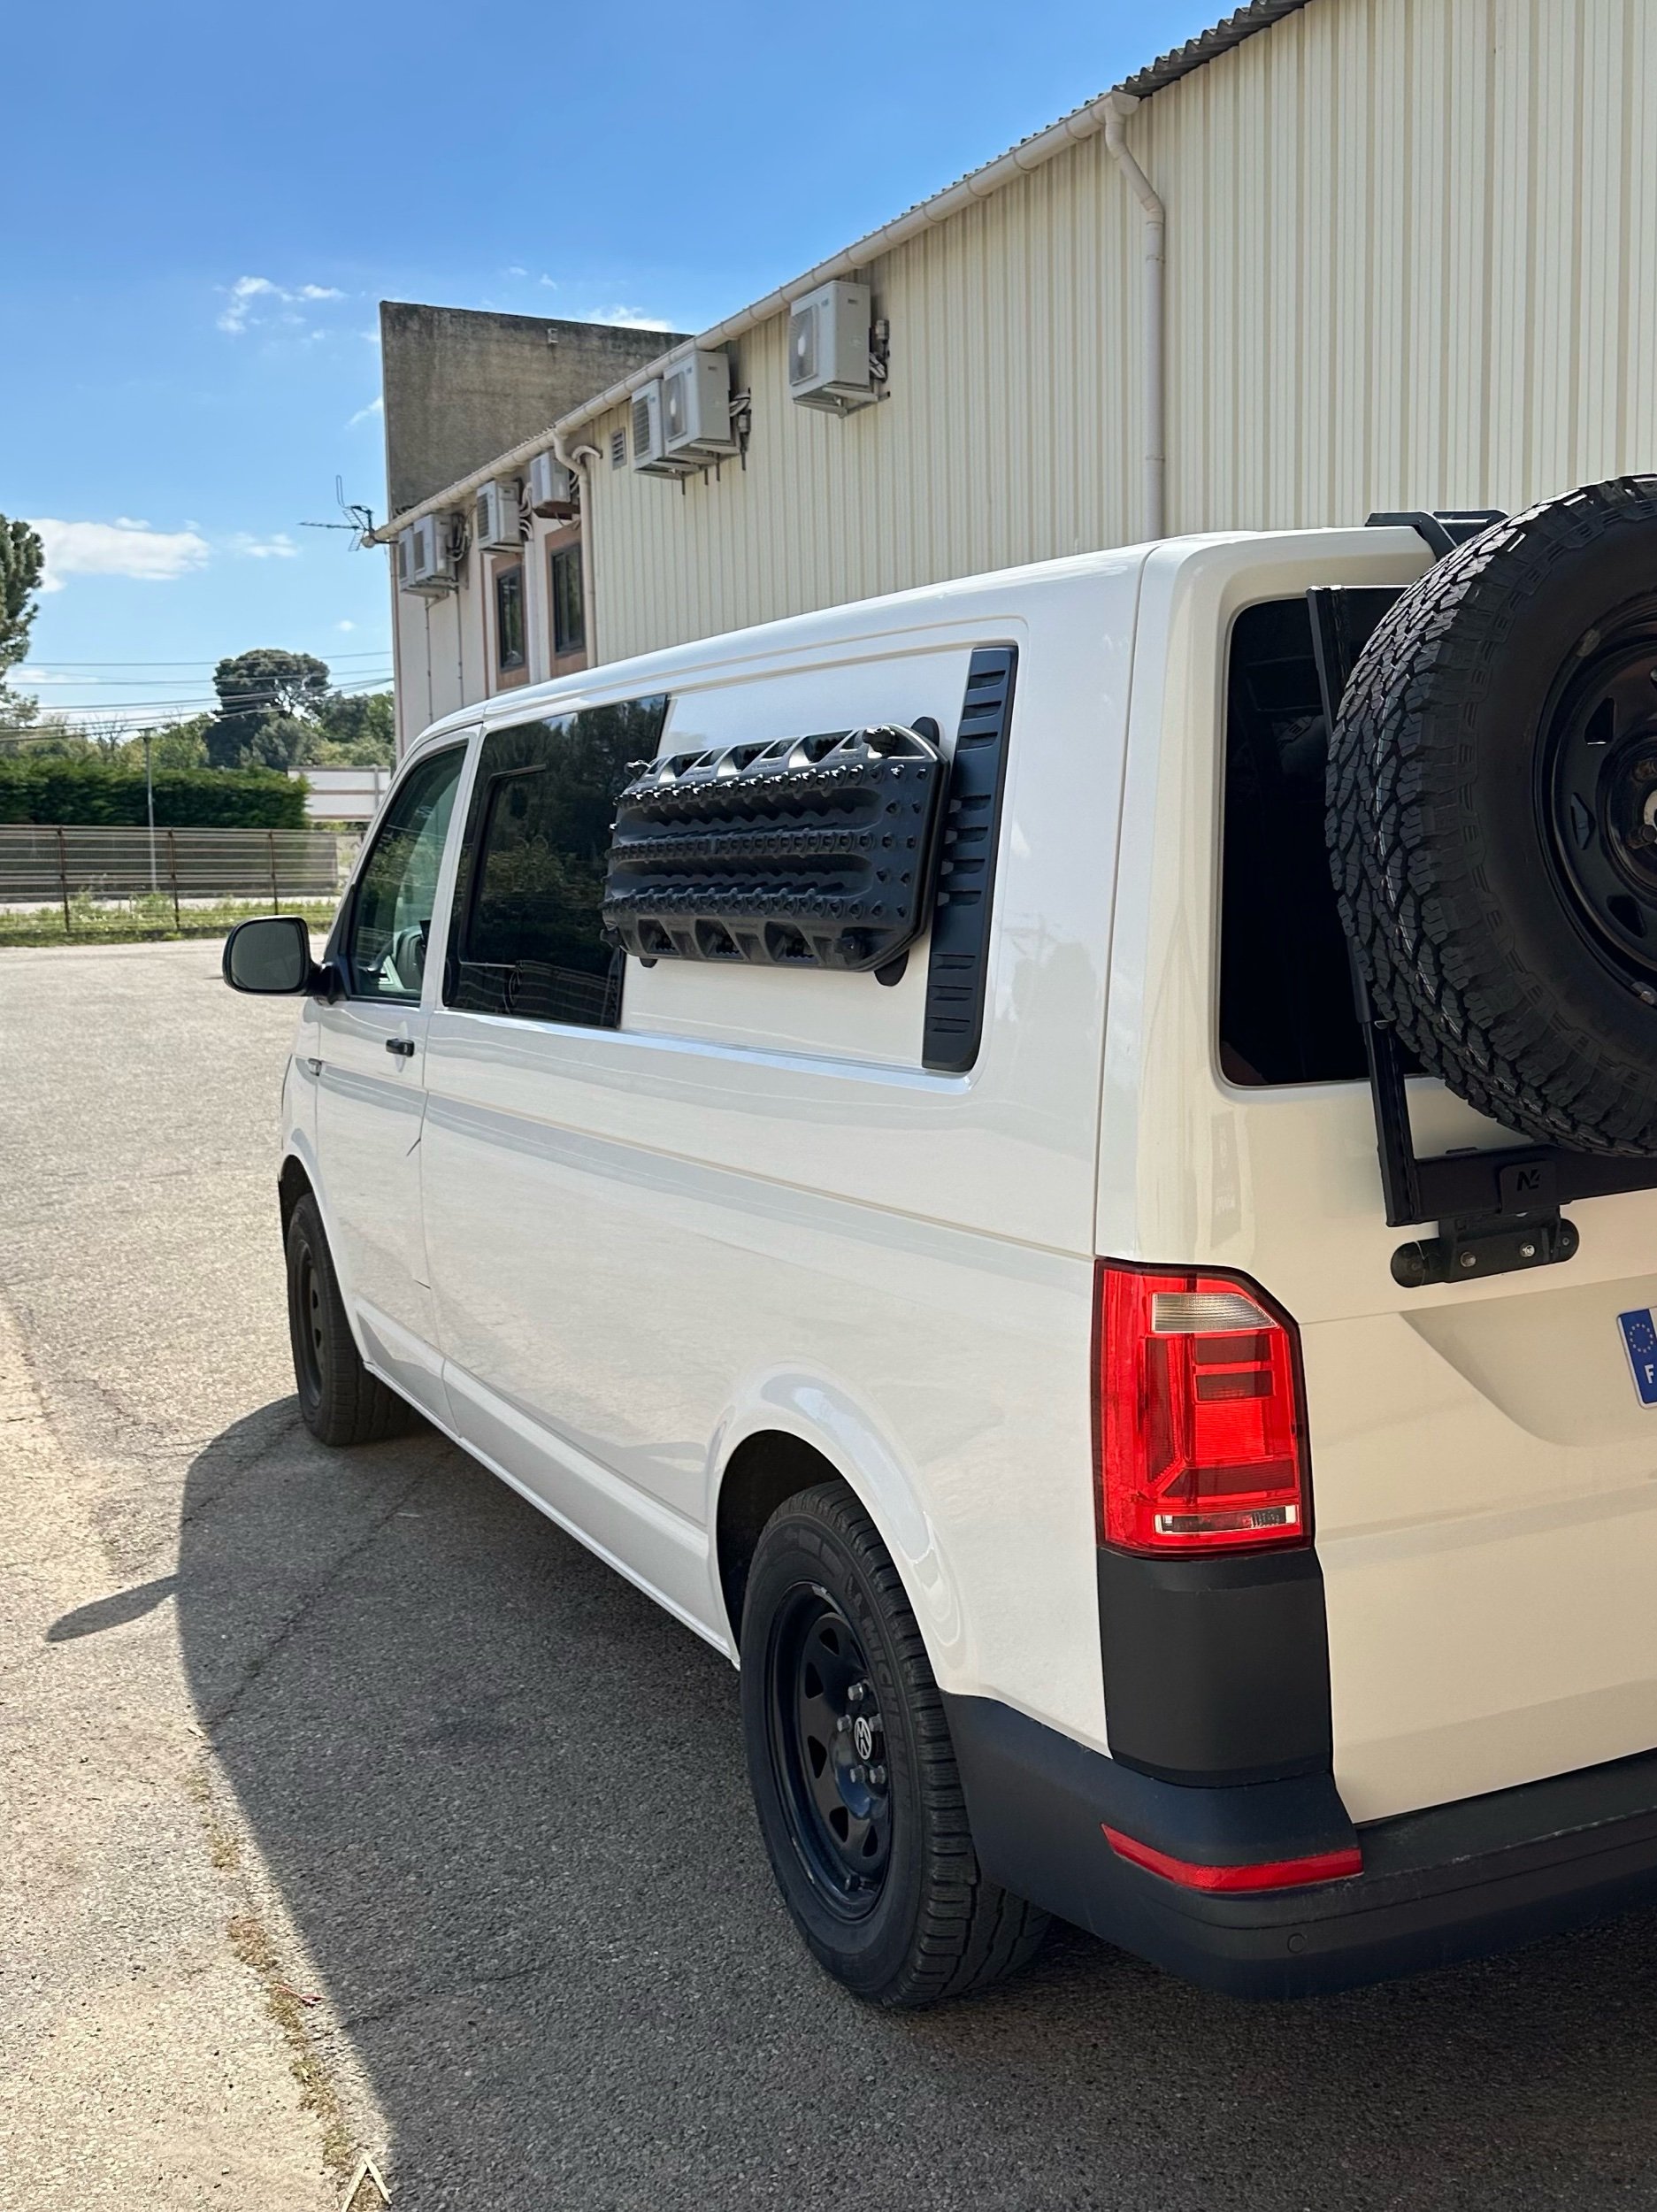
Max Trax Quick Release Upgrade
Because we don’t leave our first customers behind.
Yes, you can buy this product and install it on any rack you choose. You will need to get your own screws, as we cannot determine how thick your panel is. We recommend using M8 stainless steel bolts.This kit consists of 2 or 4, as you choose, quick-release pins with a plastic part that goes into the Max Trax support hole and the needed bolt.
You can also buy only two if you feel safer having the previous version to discourage theft, but still reducing the access time to your recovery boards by half.
THIS DOES NOT INCLUDE THE MAGNETS
Please, pay attention to this: the chrome cylinder on your actual supports, is tightened with Locktite, so it might be hard to unscrew, take a moment and do this properly with patience to not hurt yourself or damage the parts.
Remove the magnetic supports from the Max Trax recovery boards.
Now that you have the magnets with the chrome cylinder and the black spacer, without the plastic top screw installed, put some same i.e. duct tape on the upper part of the cylinders.
With one hand, hold the magnet, with the other, with a clamp apply pressure on the duct tape and unscrew it.
DO NOT USE THE PLASTIC SPACER TO UNTIGHTEN THE CHROME CYLINDER; YOU WILL DAMAGE IT.


